What is Azure Policy
Azure Policy is a service in Microsoft Azure that enforces organizational standards and evaluates compliance at scale. It allows users to create, assign, and manage policies to ensure resources comply with corporate or regulatory standards. These policies control various resource aspects, such as configurations, tagging rules, and resource types. Azure Policy integrates with Azure Blueprints and Microsoft Defender for Cloud for comprehensive governance and security management. In this article, we will take a look at how Azure Policy works and finish up with a demo on how to implement it.
How Azure Policy Works
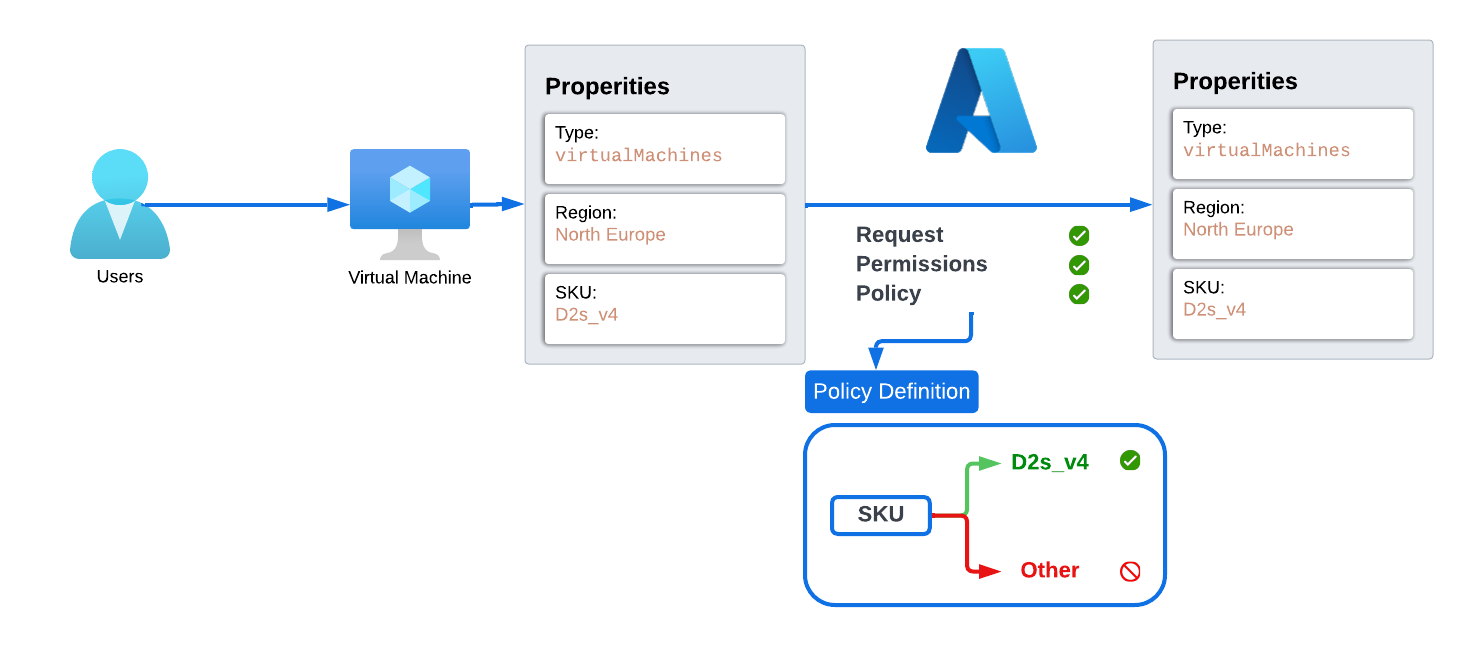
In order to understand how Azure Policy works, let’s consider a scenario where a company wants to only deploy Azure Virtual Machines with the SKU ‘D2s_v4.’ The company’s infrastructure should not have any virtual machines with other SKUs. To achieve this without a lot of manual work, the Azure administrator decided to look for the most suitable tool. After discovering Azure Policy, the administrator researched how it works.
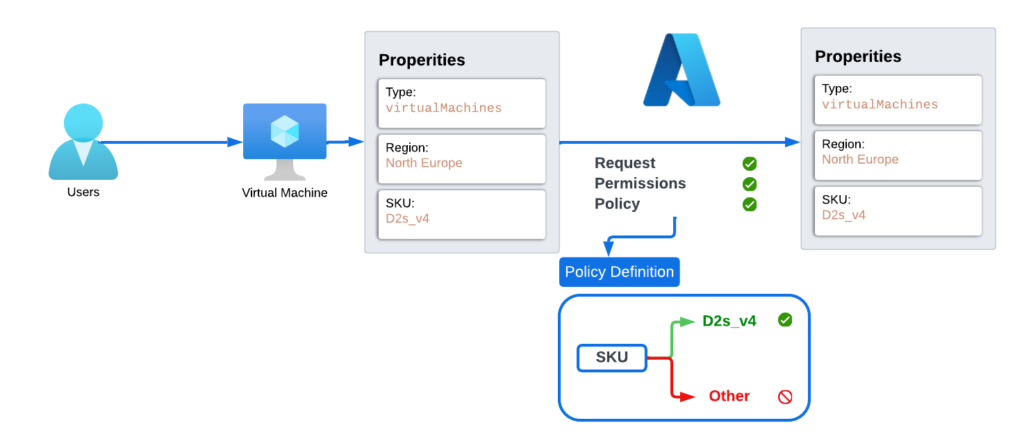
The administrator found out that Azure first checks the schema of the request to ensure it’s valid. If the schema is correct, Azure then performs a permission check to verify if the user who initiated the request has sufficient privileges to perform the action. Finally, Azure Policy checks the properties of the request and either allows or denies the request based on defined policies.
Demo
In this demonstration, we’ll explore Azure Policy in action by configuring a built-in policy to restrict the deployment of virtual machines to only those with the SKU D2s_v4.
- Navigate to the Policy Blade: First, go to the Azure portal and select the “Policy” blade.
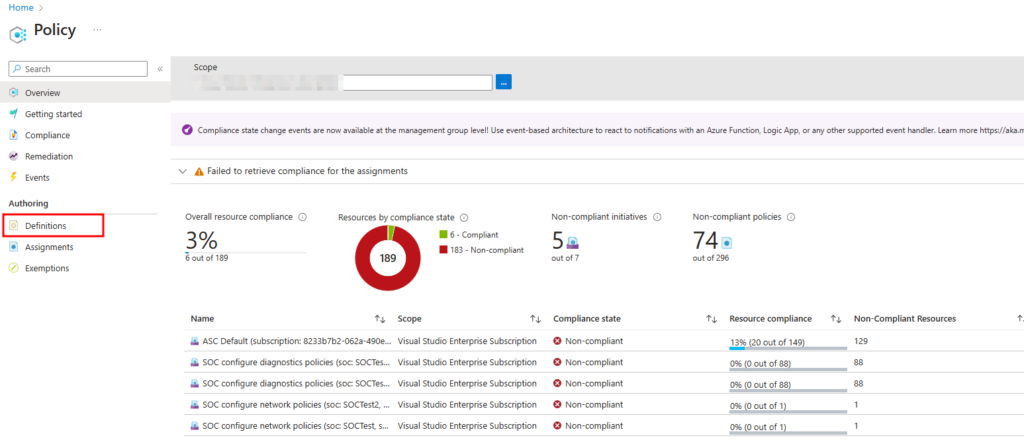
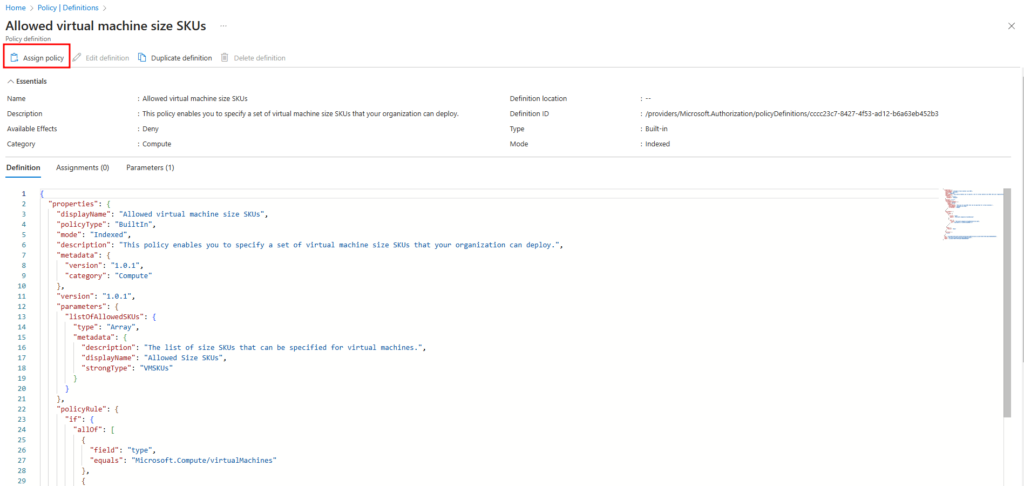
- Choose Definitions: In the “Definitions” section, you will find a list of built-in policy definitions. Look for the policy named “Allowed Virtual Machines Size SKUs.”
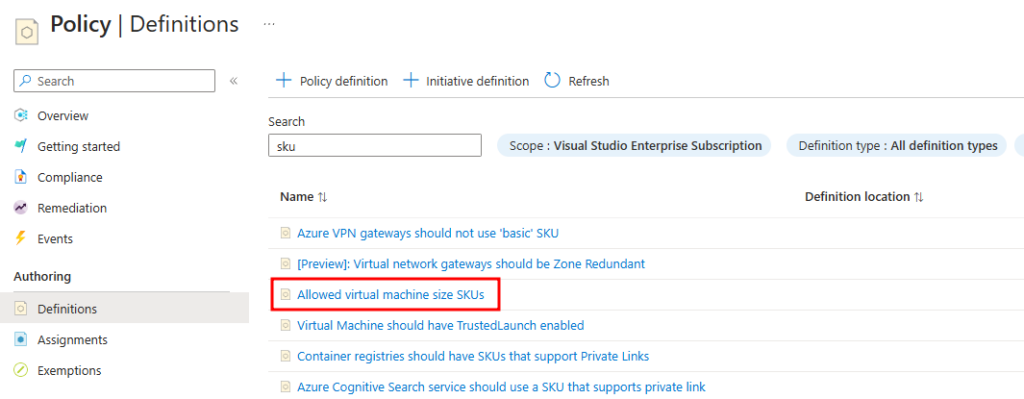
- Assign the Policy: Select this policy definition and click on “Assign Policy.”
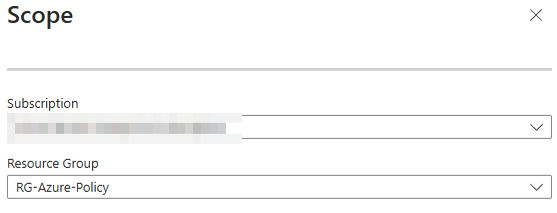
- Set the Scope: Choose the scope of the policy. In our case, it’s the resource group “RG-Azure-Policy.”
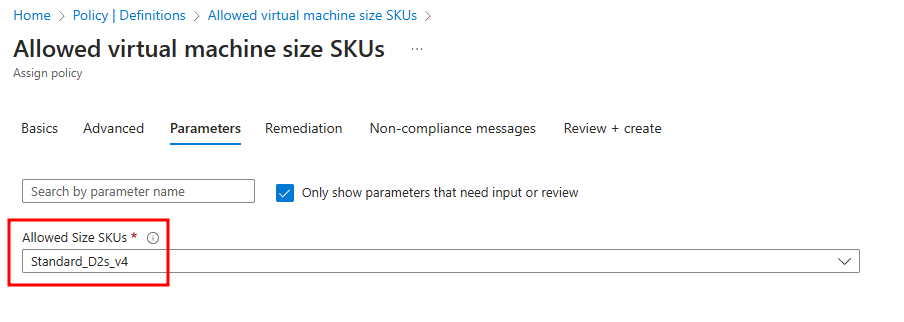
- Configure Parameters: Move to the “Parameters” tab and select the SKU “D2s_v4.”
- Set Non-Compliance Message: Navigate to the “Non-compliance message” tab and add a friendly message to inform users when the policy is violated.

- Review and Create: Click “Review + Create” to finalize the configuration.
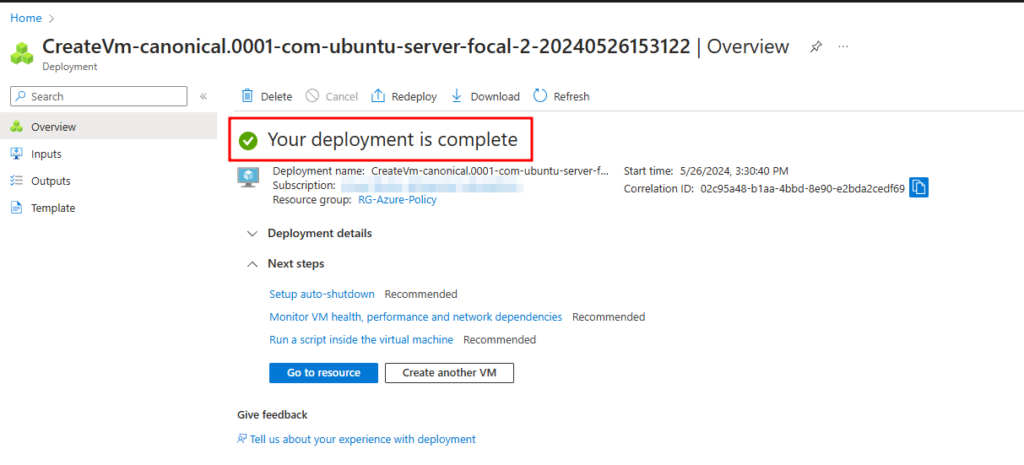
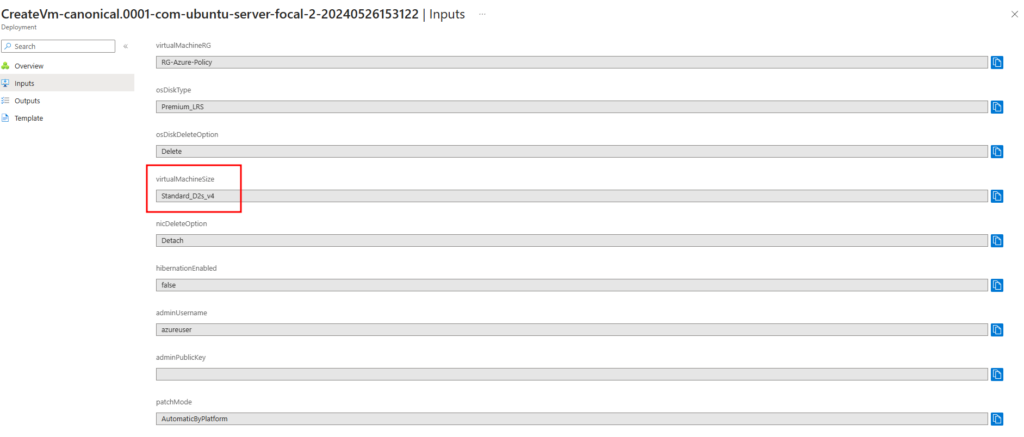
With the policy now configured and assigned to the correct scope, let’s test it. First, let’s deploy a virtual machine with the size D2s_v4 in the resource group “RG-Azure-Policy.” As expected, the virtual machine deploys successfully.
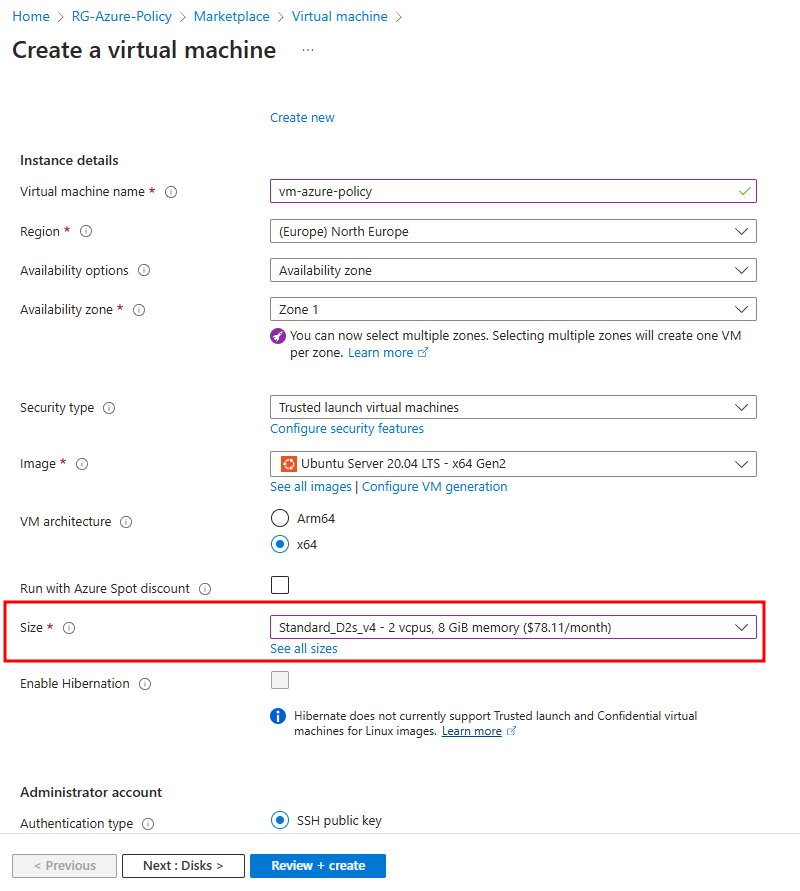
Next, let’s attempt to deploy a virtual machine with a different SKU size. We found that other SKUs are unavailable at this scope, and the non-compliance message we configured earlier appears, informing us that deploying VMs with other SKUs is not allowed due to the policy.


Conclusion
In this article, we explored Azure Policies, understanding their functionality, and configuring a built-in policy to control the deployment of virtual machines by SKU. We saw firsthand how to assign this policy to a specific scope and witnessed its enforcement in action.
In future articles, we will dive deeper into Azure Policy, learning how to create custom policies from scratch. We will uncover the full potential of Azure Policy and examine its broader applications in enhancing Azure security and governance.

